How to Import a Project with Ownership While Online

Written by Eric Cogburn
Updated at September 30th, 2022
How to Import a Project with Ownership While Online
Prerequisites:
● ERA Live services are accessible via an active network connection
● User is logged into ERA Live
● Project ownership was previously exported, and the *.eraowner file is available
● Required Access:
○ Account: User
○ Project: No previous access required
○ Dashboard: N/A
Import Project Ownership
-
Start the process by one of three methods:
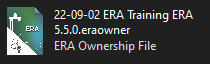
- Double click the ERA Ownership File (*.eraowner) file in the File Explorer:
-
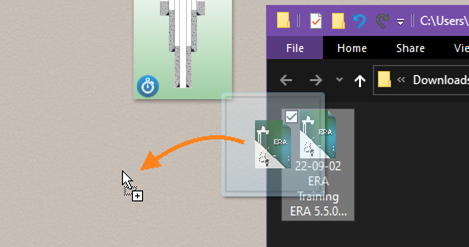
Drag the ERA Ownership File (*.eraowner) file from the File Explorer to the
ERA project desktop:
-
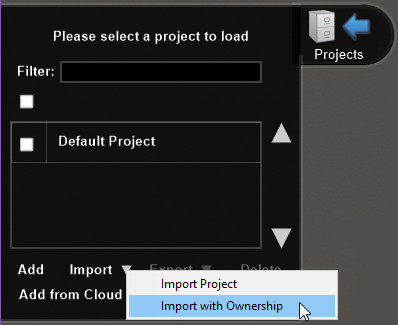
Use the Projects side panel:
- Click the dropdown arrow
 next to the Import button.
 -
Select the “Import with Ownership” popup menu item.
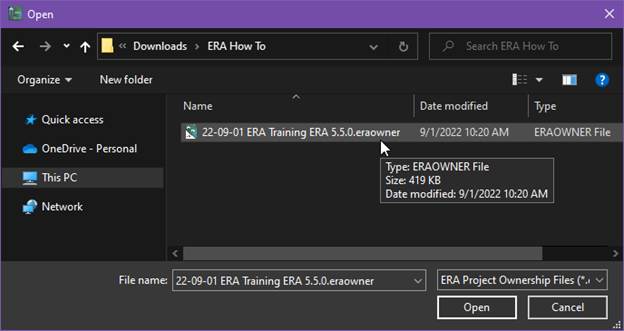
- Choose the ERA Project Ownership file (*.eraowner) to import:
- Click the dropdown arrow
- Only if the project is already in the Project list, choose whether to keep the existing local version or import from the file and overwrite the local version:
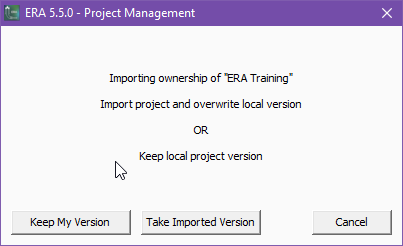
- The project file is imported (except in the case “Keep My Version” was selected).
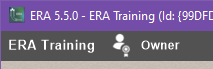
- The project navigation bar will update to show “Owner” along with a color change.
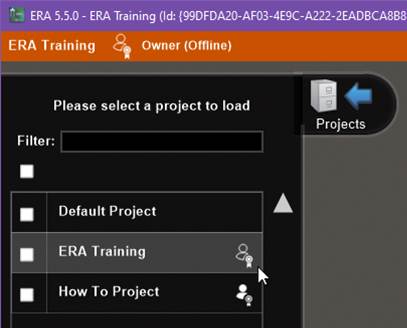
- While ownership is syncing to the ERA Live servers, you might observe that the status temporarily shows a new icon and label “Owner (Offline)”.
- The ownership change can be verified in the “Add from Cloud” dialog in ERA or on the ERA Live – Account Administration website.
- Since you are now the owner, your local project version will automatically be synced up to the server.