How to Export a Project with Ownership
How to Export Project Ownership
Prerequisites:
● User is logged into ERA Live
● Project has been taken online
● Required Access:
○ Account: User
○ Project: Owner
○ Dashboard: N/A
Ownership can be exported while either connected or disconnected. If ERA Live is disconnected, the user must already have been logged in to ERA Live so that ERA recognizes the user as the project owner.
Export with Ownership
- Start the process:
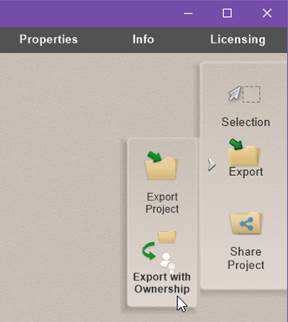
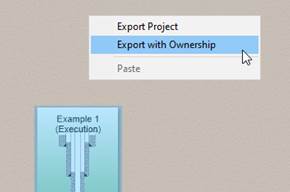
- For the currently-open project, there are two methods:
- Click the flyout button
 next to the sidebar Export button,
then click the “Export with Ownership” button. - OR right-click anywhere on the project desktop, then select the
“Export with Ownership” context menu item.
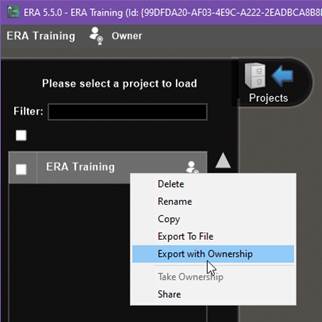
- For any project in the Projects list (not only the open project), there are two methods:
- Right-click a project in the list, then select the “Export with Ownership” context menu item.
- OR
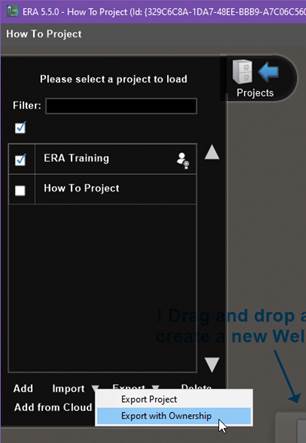
- Check a single project in the list:
- Note: Having no projects or multiple projects checked disables the following Export with Ownership option.
- Click the dropdown arrow
 next to the Export button.
 - Select the “Export with Ownership” popup menu item.
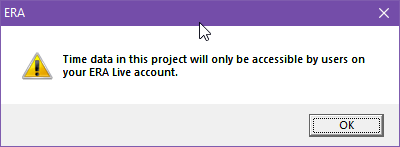
- Acknowledge the warning by clicking OK.
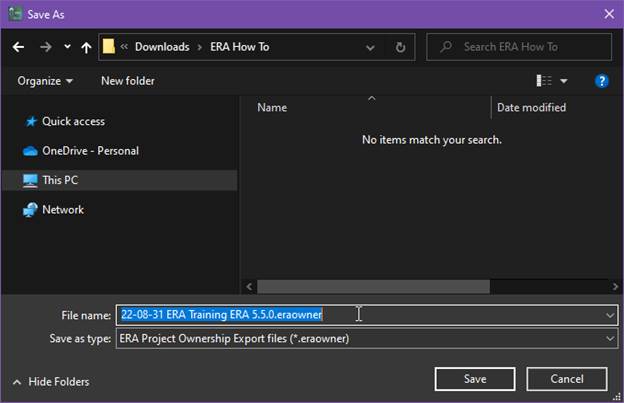
- Specify where to save the ERA Project Ownership Export file (*.eraowner).
- Wait for the process to complete. A spinner or hourglass cursor may appear and the ERA interface will be unavailable during this process.
- The saved ERA Ownership file has a distinct icon and extension (*.eraowner):

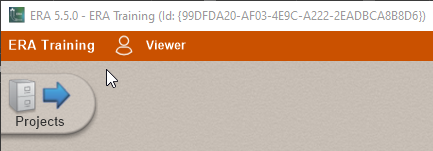
- If exporting the open project, observe that the project desktop banner changes color and the icon and label change to “Viewer”.
- If ERA Live is connected, the ownership state will also be updated on the server. Because a new owner is not yet known, the owner will be blank / empty.
- The ownership change can be verified in the Add from Cloud dialog in ERA or on the ERA Live – Account Administration website.