Handling Wells with Multiple Time Data Sets
Handling Wells with Multiple Time Data Sets
Background
To better accommodate ERA Live workflows, time data sets are treated differently in ERA 5 versus ERA 4. In ERA 4, time data sets were associated with projects, whereas in ERA 5, time data sets are associated with well designs. This difference requires a special merge process for some well designs when migrated from ERA 4 to ERA 5.
Most projects probably have one data set associated with each well design, in which case the merge is easy, and each data set will simply be brought into ERA 5 and associated with its well design. The case becomes more complex for well designs where multiple data sets were used. A common use case may be where one data set was used for one hole section and a different data set was used for a different hole section. In cases like this, ERA will detect that multiple data sets are associated with a single well design, and make its best attempt at merging the data, the segregation / rig state filters and the subop mappings. ERA will also display caution messages to alert the user of the merge.
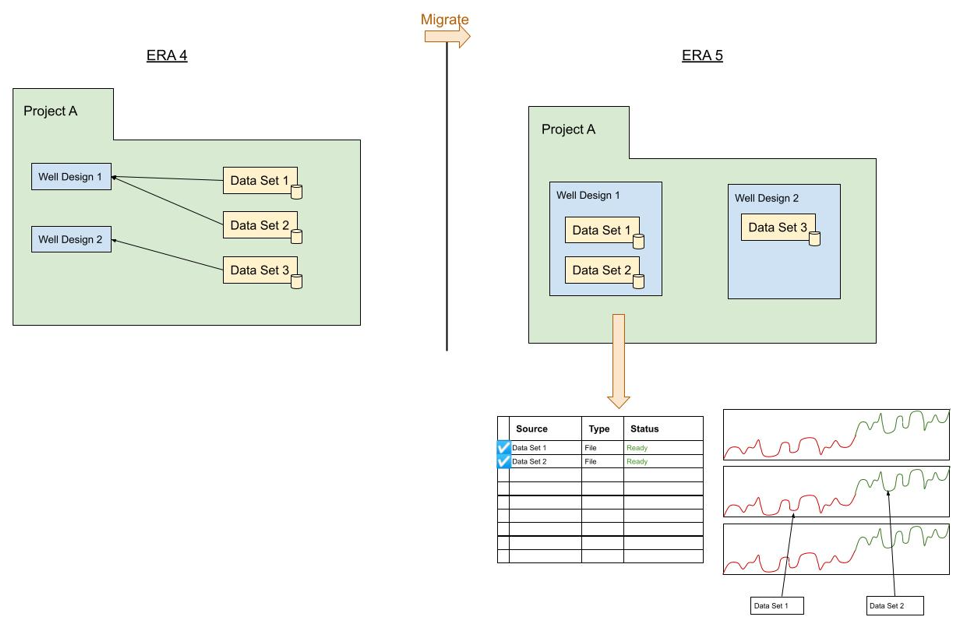
Figure 1. Data sets are associated with well designs instead of projects in ERA 5. This requires a special merge process
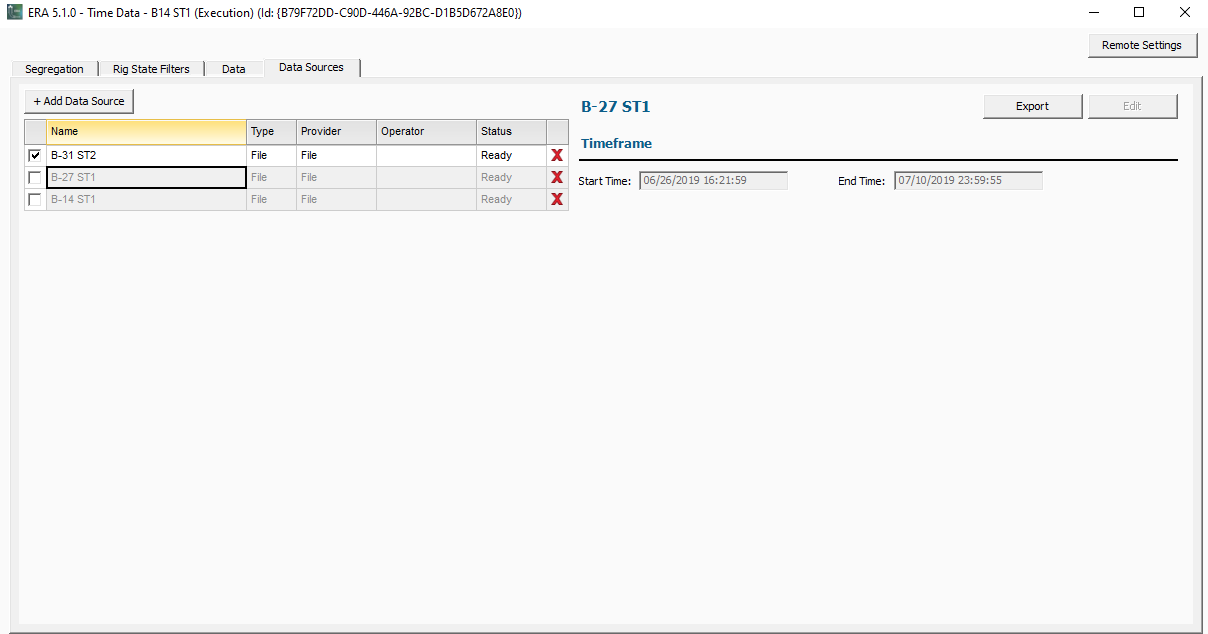
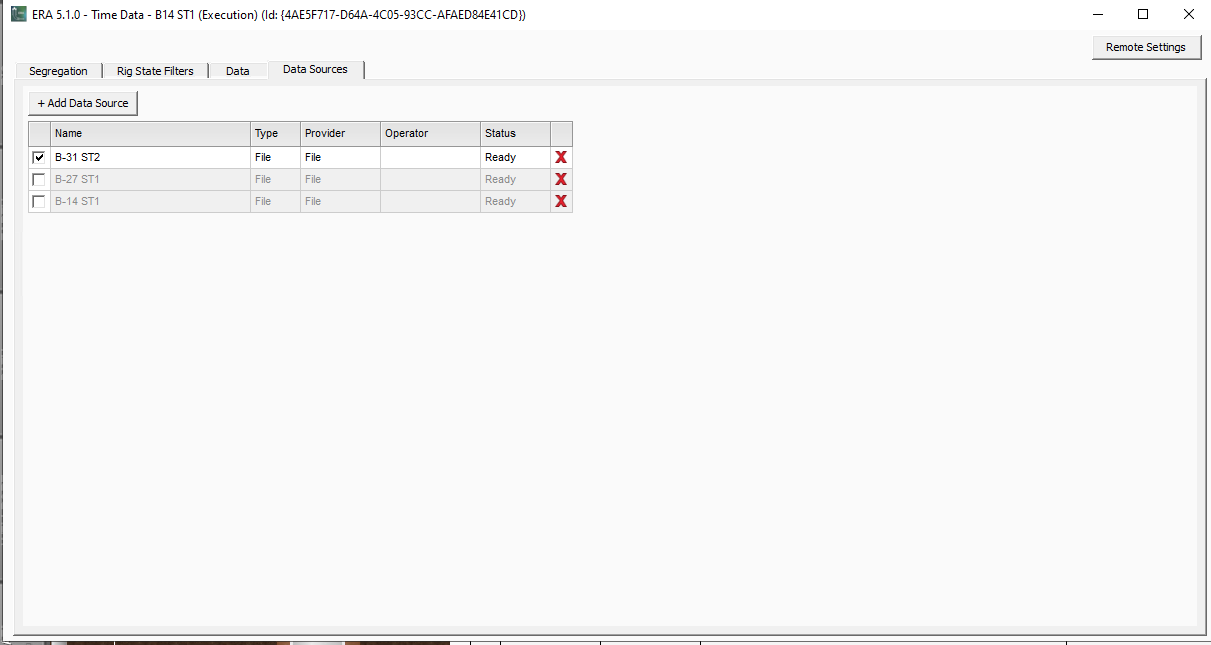
Upon opening the well, the Data Sources tab displays all the data sets that are associated with the well design. The last active data set (from ERA 4) will be enabled, indicated by the check box in the first column. Additional data set can be enabled or deleted as needed.
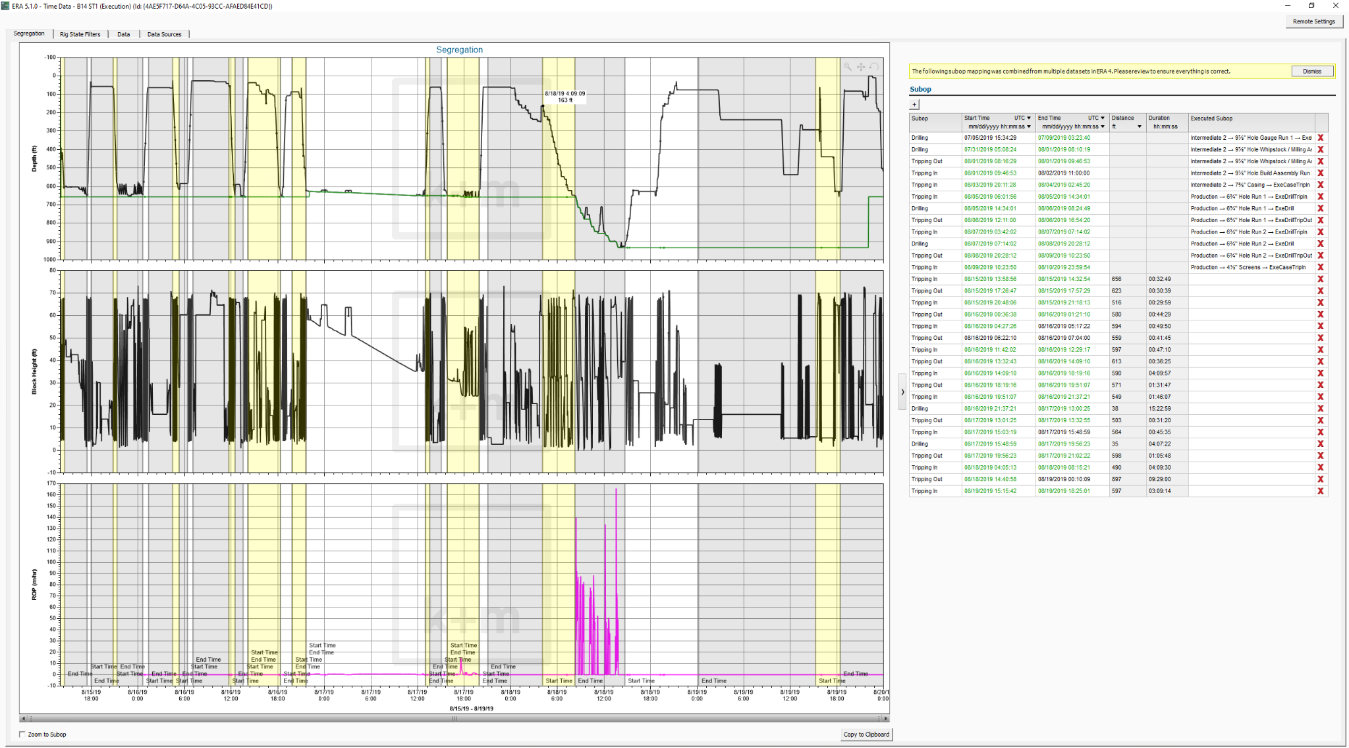
The “Segregation” and “Rig State Filters” tabs show the merged data and subop segregation mapping.
Taking a project with multiple data sets online will notify the user that all data sets will be enabled and uploaded.
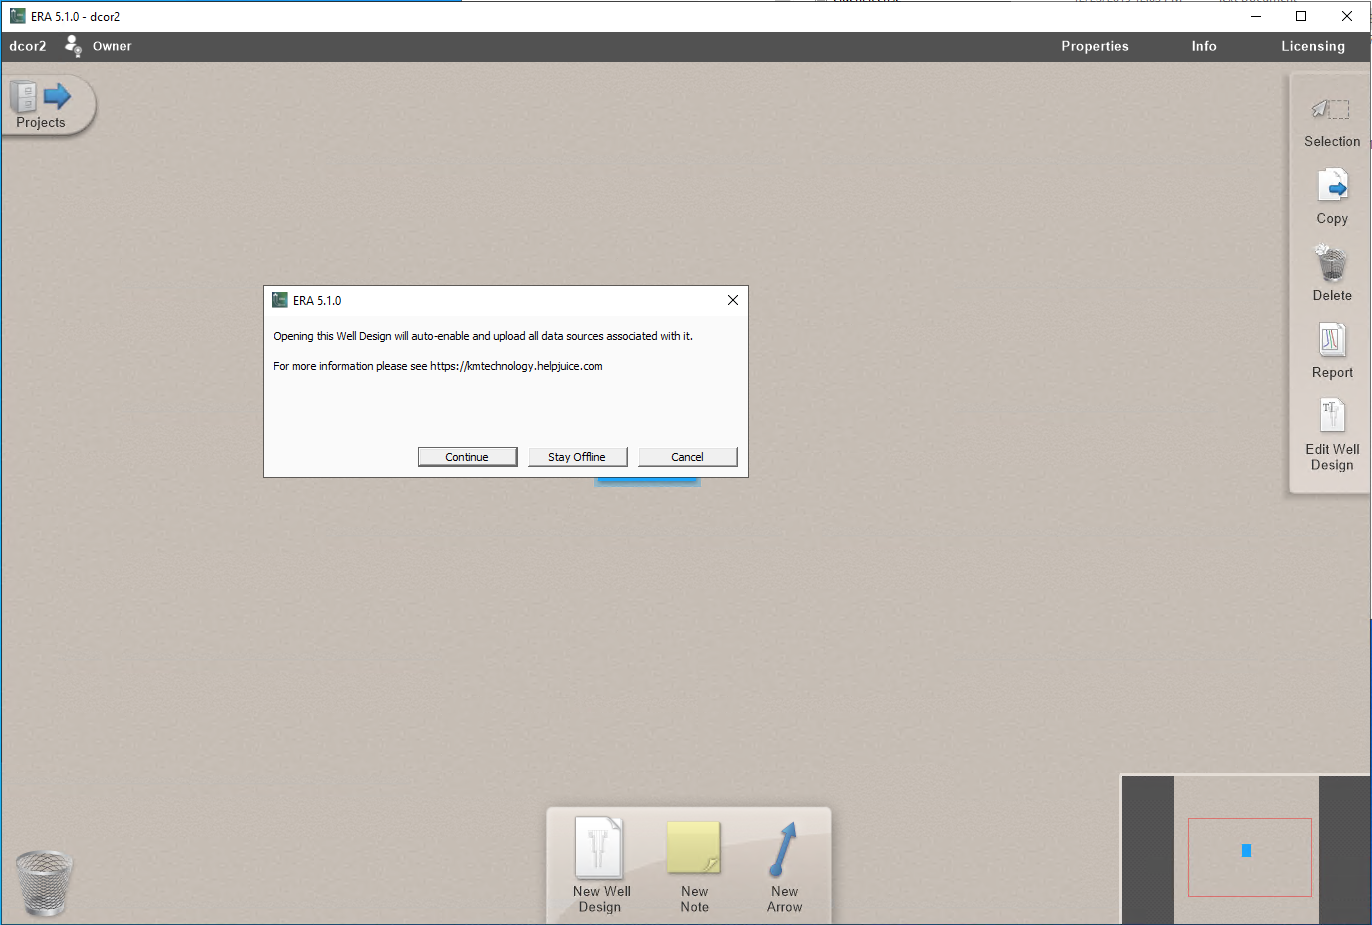
Selecting Continue will take all time data sets online
Selecting Stay Offline opens the well in offline mode allowing for the data sets to be cleaned up prior to being taken online. Details of that process follow.
-
Back in the “Data Sources” tab, clicking on each row shows the detailed information for each data set.
To export an individual data set prior to deleting it, select the row and the click the “Export” button. The data set that is selected will be exported.
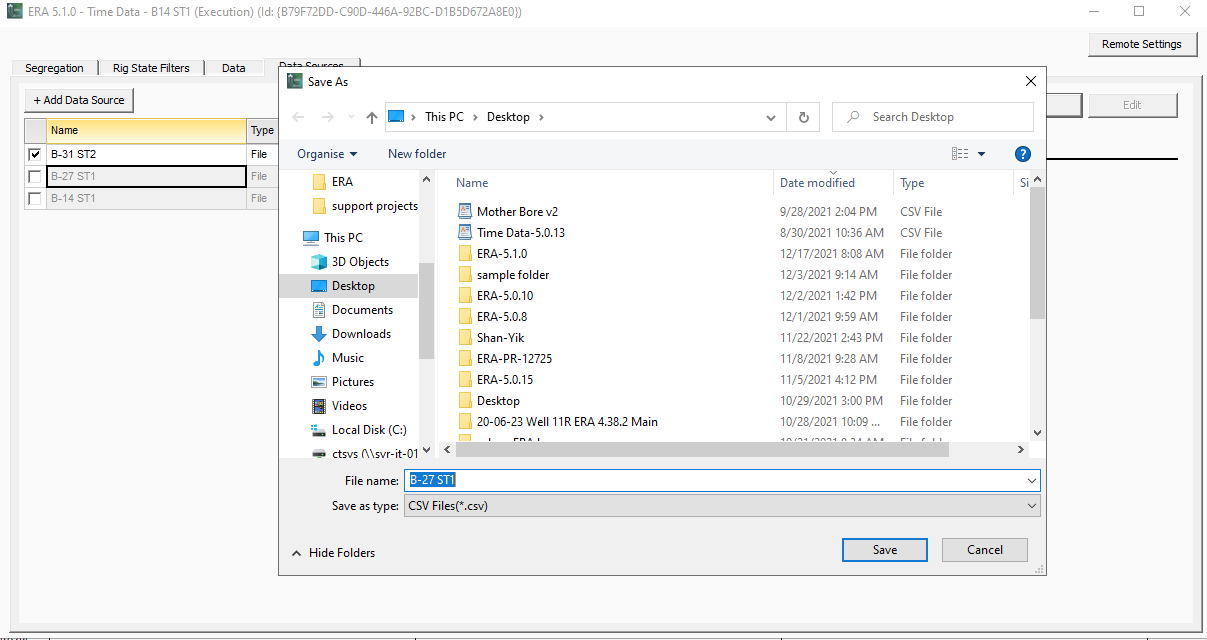
Once exported and saved, the data set can be deleted.
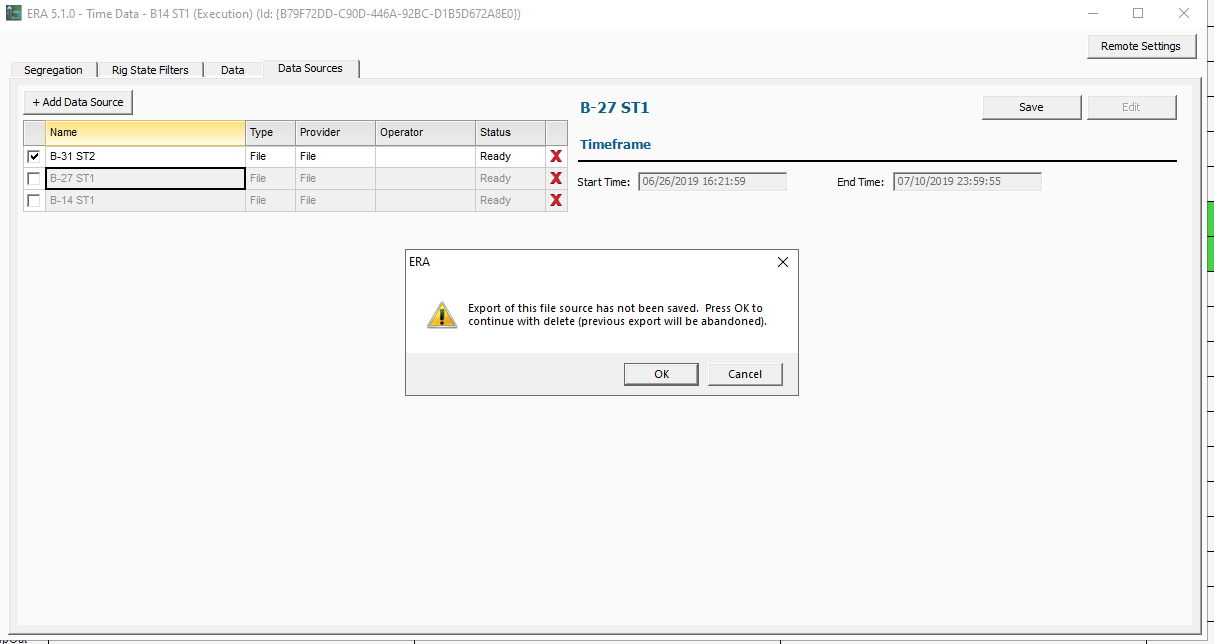
After the data set is deleted:
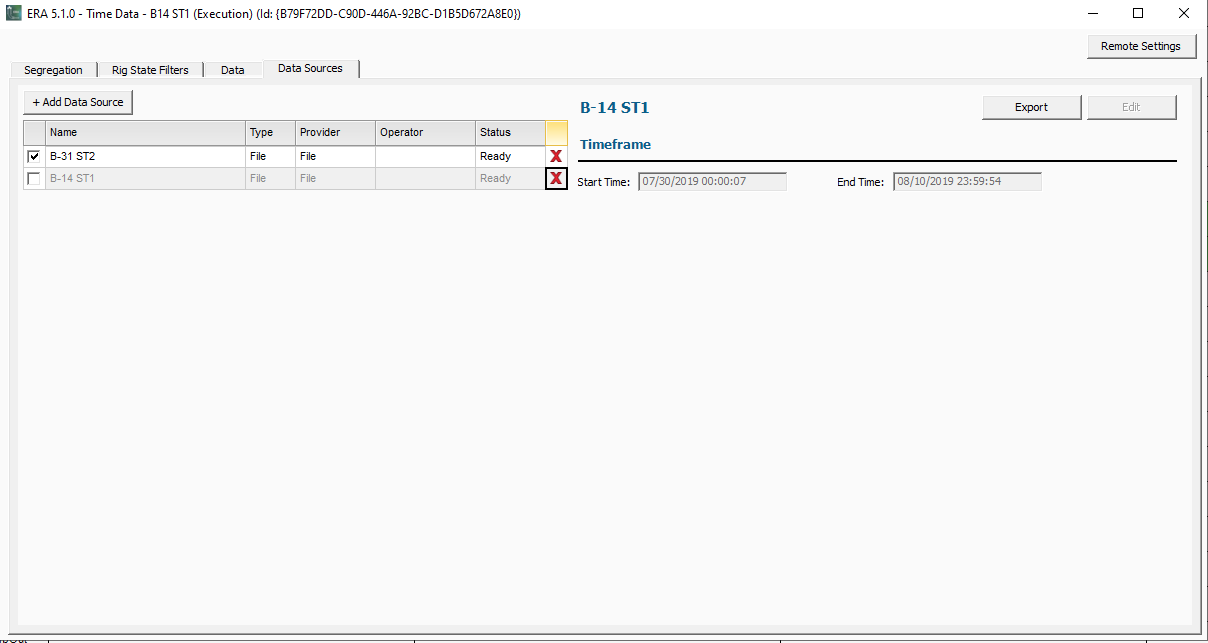
Continue to repeat the process to remove any unwanted data sets. These data sets can always be added back later.
